If you have been following along as I have been opening up each box from the PiHut Maker Advent Calender you will have seen that PiHut have also provided and excellent set of tutorials to show you what to do with the box contents. Now that we have something a bit more interesting (Yesterday’s box came with some leds, resistors and jumper cables) I thought we should look at the tutorials.
The second day tutorial makes use of everything that has been provided in boxes one and two to blink the three leds (one each of red, green and orange) in order. This is a simple enough project but needs to explain both the hardware and software elements as the tutorials assume zero knowledge. It makes a very good job of this.
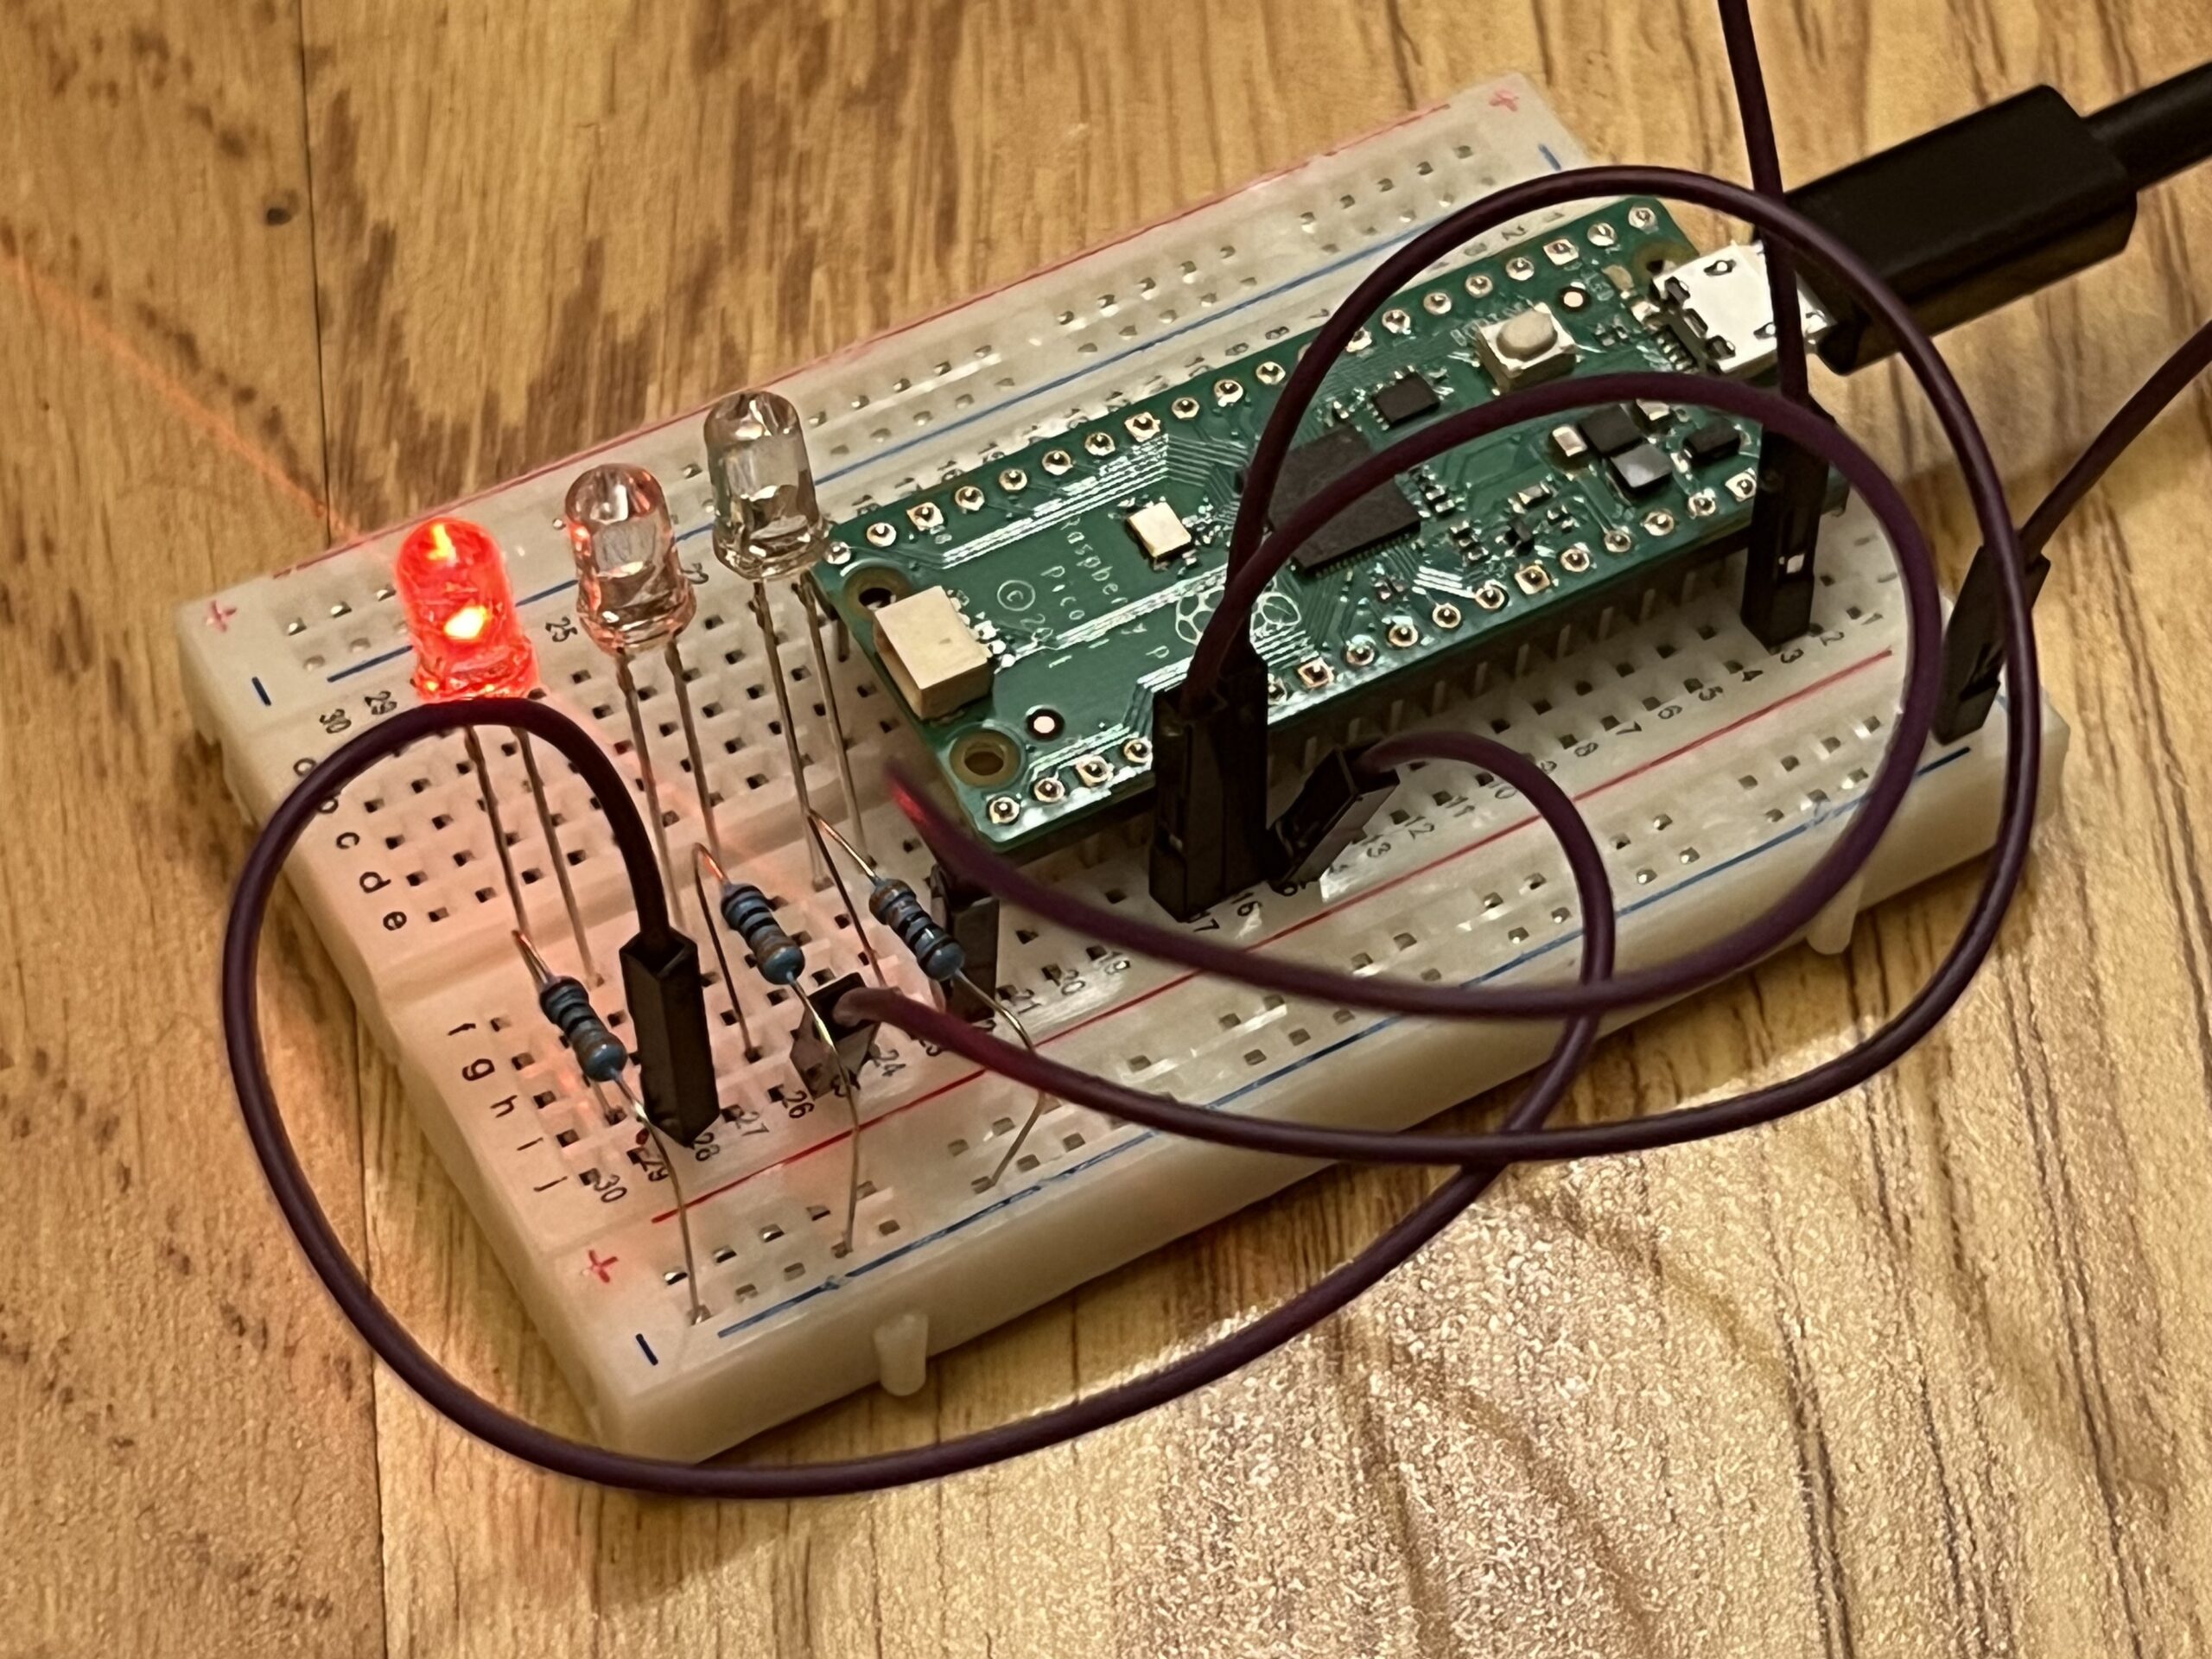
What I hadn’t expected was just how fiddly putting the components in to the breadboard was going to be. While they go in a reasonable way into the board they are easily knocked out especially when trying to putt the jumper cables next to the resistors. It is also all quite small and my eyesight isn’t what it used to be so that was a challenge too.
While you can just cut and paste the code from the tutorial straight in to Thonny there is some great explainations of what each bit does. This includes both on the hardware where pins and resistance is explained but also things like while loops in the code too.
When it was all put together it looks like as shown in the video below. The first time I tried one of the LEDs didn’t work at all and I found that I had put a leg in the wrong hole but that was quickly corrected and no harm came to anything which was a relief!
Overall I have been impressed with all the support around the box contents and am looking forward to tomorrow’s opening.
2 comments on “PiHut’s Maker Advent Calendar – Day Two Project”