As part of my drive to help the planet, I am trying to use less electricity. We have a Windows machine in the lounge that acts as a Plex media server. This works very well but I realised that it was only being used at certain times of the day, usually in the evenings, meaning that it was running for hours on end unnecessarily. Therefore, the plan was to have the machine automatically turn off each night at midnight when I knew we would definitely not be using it, but what about turning it on?
If I was at home I could just walk to the machine and press the start button. However, I also use Plexamp to stream my music to my phone when I am out and about so need a way to start the machine away from home. Enter Remote Wake on LAN.
The Set-up
What I used:
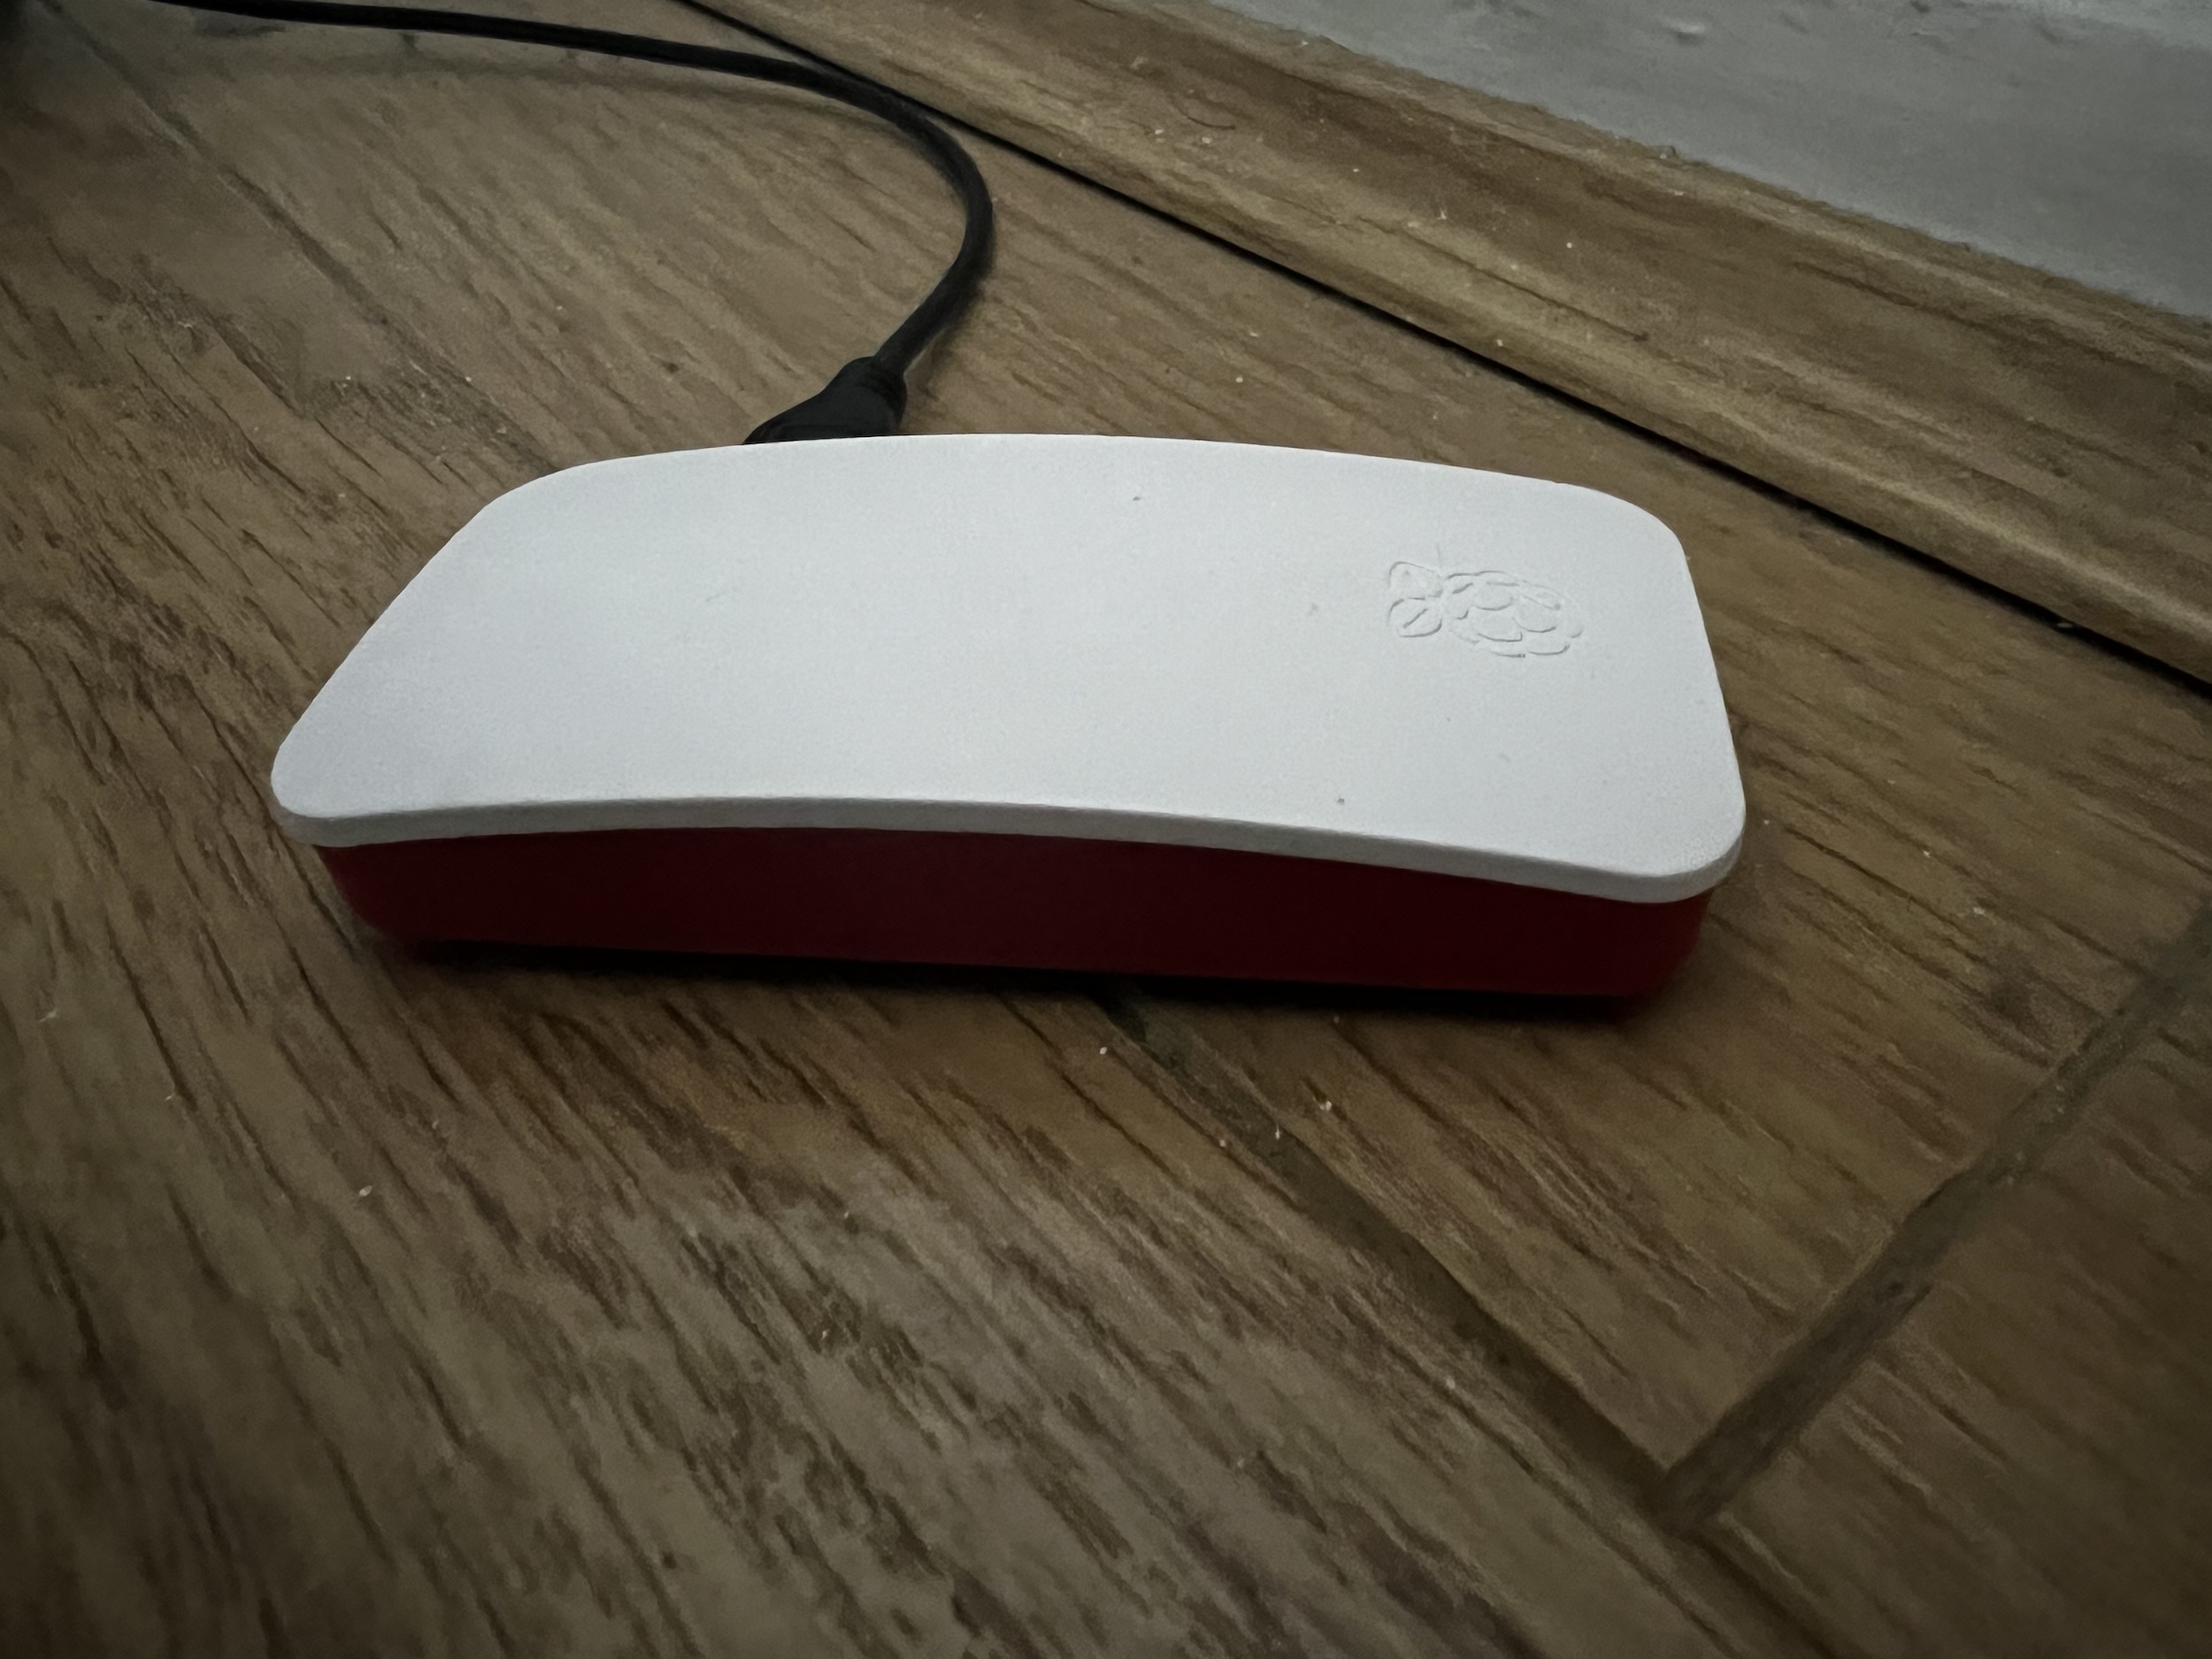
- Raspberry Pi Zero W
- Apache
- PHP
- Etherwake
NOTE: Those of a nervous disposition may want to look away now as in the following I am going to be exposing a web server running at home to the outside world. You can relax though as it is secured behind Cloudflare’s ZeroTrust.
Wakey, wakey!
In order to be able to wake up a machine on the same network you need to be able to send a magic packet to a listening machine. This requires a network card and machine capable of receiving such packets. There are plenty of articles on the internet about setting that up so I am not going to repeat that here.
On to a Raspberry Pi Zero W (V1) from the command line I installed the software required to send the packets:
sudo apt install etherwakeOnce installed you can then call from the command line as follows:
sudo etherwake -b <Mac address of machine to wake> -i wlan0The wlan0 bit is the network interface that the command should be sent from. As the Zero by default has no ethernet this is done over the WiFi interface.
Once you have ensured that this works from the command line you can move on to the next step.
Remote Access
Now that you have Etherwake working the next step is to access it from outside your home network. For this you need to install both Apache and PHP. Again, this is covered in great detail here. You will also need to set up port forwarding on your router and, if you have a dynamic IP address, setup a permanent domain to use via one of the many dynamic DNS services.
In order to call Etherwake from PHP you need to use the exec function such as:
exec('etherwake -b <Mac address of machine to wake> -i wlan0', $output, $result)The problem with this is that you really need to call the etherwake command from sudo but you can’t do that from exec. Therefore, you need to create a symbolic link to the underlying etherwake command and then “setcap“, set the capabilities of that file, to allow it to be run from users other than via sudo. You might want to read an explanation of “cap_net_raw+ep” before executing the following:
sudo ln -s /usr/sbin/etherwake /usr/bin/etherwake
sudo setcap cap_net_raw+ep /usr/sbin/etherwake
Now we can create a simple PHP file that you can call to call Etherwake, such as the following, and save it as rwol.php:
<?php

  // do we have the right to be here?
  if ($_REQUEST['guid'] != '68902e31-2402-48ce-b345-b04ecd984ed0') die('no thanks');

  // has a machine to start been sent?
  if (!isset($_REQUEST['machine'])) die('no nachine');

  // which machine to start?
  switch (strtolower($_REQUEST['machine'])) {
      case 'server':
          exec('etherwake -b 7B:2A:83:DB:71:78 -i wlan0', $output, $result);
          if ($result==0){
                     echo 'success';
           }else{
                     echo 'failure';
          }
          break;
      default:
          die('no machine found');
  }

?>
This script expects two parameters as input. The first is a very basic security check and one that you really should not rely on, hence my use of Cloudflare Zero Access. Think more of it as belt and braces. Use this tool to create your own GUID. The second parameter is the name of the machine to wake. This allows for the script to be extended for multiple machines on your LAN.
To call you would use a web address similar to the following, obviously replaced with your own details:
https://yourwebaddress.com/rwol.php?guid=68902e31-2402-48ce-b345-b04ecd984ed0&machine=serverWrapping it all up
While using the web address as shown above works it is a but unwieldily and not very memorable. You could assign it to a NFC sticker which you can tap to start – I’ve done this and stuck on on the TV remote. You could also create a nice web interface such as shown below. This I got ChatGPT to create for me and I’ll go through that in a future post.

Finally, I should point out that there is already a reasonably mature project for Raspberry Pi called Remote Wake/Sleep-on-LAN Server (RWSOLS). However, this requires a Raspberry Pi Zero 2 which at the time of writing, are a bit like hen’s teeth to find. The solution above works on pretty much anything.
To enhance security further and avoid opening ports on your router, you can setup an affordable VPS as a WireGuard server. Then, configure all your devices (like your phone, Raspberry Pi, and Plex media server) to act as WireGuard clients, effectively creating a VPN. This way, you can use your phone to connect securely to the Raspberry Pi to wake the Plex media server. Additionally, you can leverage the VPS for hosting self-hosted RustDesk.
That’s really interesting. Would you say that’s necessary if you’re using CloudFlare Zero Trust and are both needed do you think?
I have a VPS that’s not doing anything at present so I’m going to take a look at that. Thanks!
Thanks for sharing your remote WOL using rpi z article.
Any reason why your method is more advantageous than installing Tailscale or ZeroTier on your rpi and then ssh to rpi and sending the etherwake command to the local pc? You would now use another remote Tailscale connected device like your phone to connect to rpi and send that command.
This way you don’t need an external dyndns or similar server ip address or url.
Well, I built it before I discovered Tailscale, so that’s one reason, but the principal reason is that I like to build things to stimulate the mind and help me understand how things work.
I’m fortunate in that I have a static IP and loads of domains so don’t need to bother with things like dyndns which certainly helps and that it is secured behind Cloudflare Zero Trust gives me confidence.
So, yes I could have done it via a third party but I’d have lot the learning experience.
Great tutorial, managed to setup RaspberryPi as WOL machine to wake up my servers. Also made UI for the script.
https://theimageshare.com/i/23558