I’ve learned a lot while developing my php2Bluesky package spurred on by my own desire to make a decent product and by suggestions from users. One such itch I needed to scratch was to take my static code and turn it into something that I could use with Composer, the de facto way of handling dependancies in PHP.
I have to admit that not everyone was thrilled about my proposed move to Composer, as many seemed to prefer not to use it and to manage updates and load the code manually. This meant that I also needed to make sure that it worked for both groups of users.
Steps to Composer-ise your code
To turn your PHP code into a package that works with Composer, you need to follow certain conventions and create a package structure. Here’s a step-by-step guide:
1. Organize Your Code
Ensure that your PHP code is organized into a modular structure. Consider breaking it into classes, functions, or namespaces for better organization.
For example the following is the first lines from my php2Micropost package showing the creation of the namespace, the start of the class and the construct:
<?php

/**
 * Library to make posting to Microposts on WordPress from PHP easier.
 *
 * @author  Neil Thompson <[email protected]>
 * @see     https://spokenlikeageek.com
 * @license GNU Lesser General Public License, version 3
 *
 */

namespace williamsdb\php2micropost;

use williamsdb\php2micropost\WordpressConsts;
use williamsdb\php2micropost\php2MicropostException;
use williamsdb\php2micropost\Version; // Not utilised, for documentation only

/**
 * Class for posting to WordPress Microposts via the REST API.
 * Handles text and media uploads, including resizing images that exceed WordPress limits.
 */
class php2Micropost
{

    // base url for the WordPress REST API endpoint, e.g. https://www.yourdomain.com/wp-json/wp/v2
    private string $base_url;
    private string $username;
    private string $password;

    public function __construct(string $base_url, string $username, string $password)
    {
        $this->base_url = $base_url;
        $this->username = $username;
        $this->password = $password;
    }
2. Create a Composer.json File
Create a composer.json file in the root of your project. This file contains metadata about your package and its dependencies. Here’s an example, again from php2Micropost:
{
  "name": "williamsdb/php2micropost",
  "description": "A library that makes posting to WordPress Microposts from PHP simple.",
  "keywords": [
    "WordPress",
    "Microposts",
    "PHP"
  ],
  "homepage": "https://spokenlikeageek.com/microposts",
  "license": "GPL-3.0-or-later",
  "authors": [
    {
      "name": "Neil Thompson",
      "homepage": "https://spokenlikeageek.com",
      "role": "Developer"
    }
  ],
  "support": {
    "issues": "https://github.com/williamsdb/php2micropost/issues",
    "source": "https://github.com/williamsdb/php2micropost"
  },
  "type": "library",
  "autoload": {
    "psr-4": {
      "williamsdb\\php2micropost\\": "src/"
    }
  },
  "require": {
    "php": "^8.0",
    "ext-curl": "*",
    "ext-fileinfo": "*"
  }
}
Make sure to replace the relevant details with those for your package.
3. Set Up Autoloading
In the autoload section of composer.json, specify how Composer should autoload your classes. The example above uses PSR-4 autoloading.
4. Create a Directory Structure
Create the necessary directory structure. For the PSR-4 example above, you’d have a src directory where your classes reside. The namespace and directory structure should match.
The following is an example from the php2Micropost development structure I have on my machine:
php2Micropost
├── changelog.md
├── composer.json
├── LICENSE
├── readme.md
└── src
    ├── php2Micropost.php
    ├── php2MicropostException.php
    ├── version.php
    └── WordPressConsts.php
5. Publish on Version Control
Publish your code on a version control system like Git (GitHub, GitLab, Bitbucket). Make sure your composer.json and code are committed and that you tag the version. The latter is important in the next step.
6. Packagist
If your code is open source and you want it to be publicly available, you can publish it on Packagist. You’ll need to create an account and follow the instructions for adding a new package.
Once you are logged into your Packagist account click on the submit button and you will see the screen below. Enter your respository URL and click Check:

If all has gone well you will see your package listed looking something like the following:

7. Versioning
When updating your package, follow Semantic Versioning (SemVer) principles. Update the version number in your composer.json accordingly if you have included that. Packagist takes the current version number from the Git tag so make sure you add that, such as:
git add . && git commit -m '<your commit message here>' && git tag -a vx.y.z -m '<your tag message here>' && git push origin --tags && git push8. Require Your Package
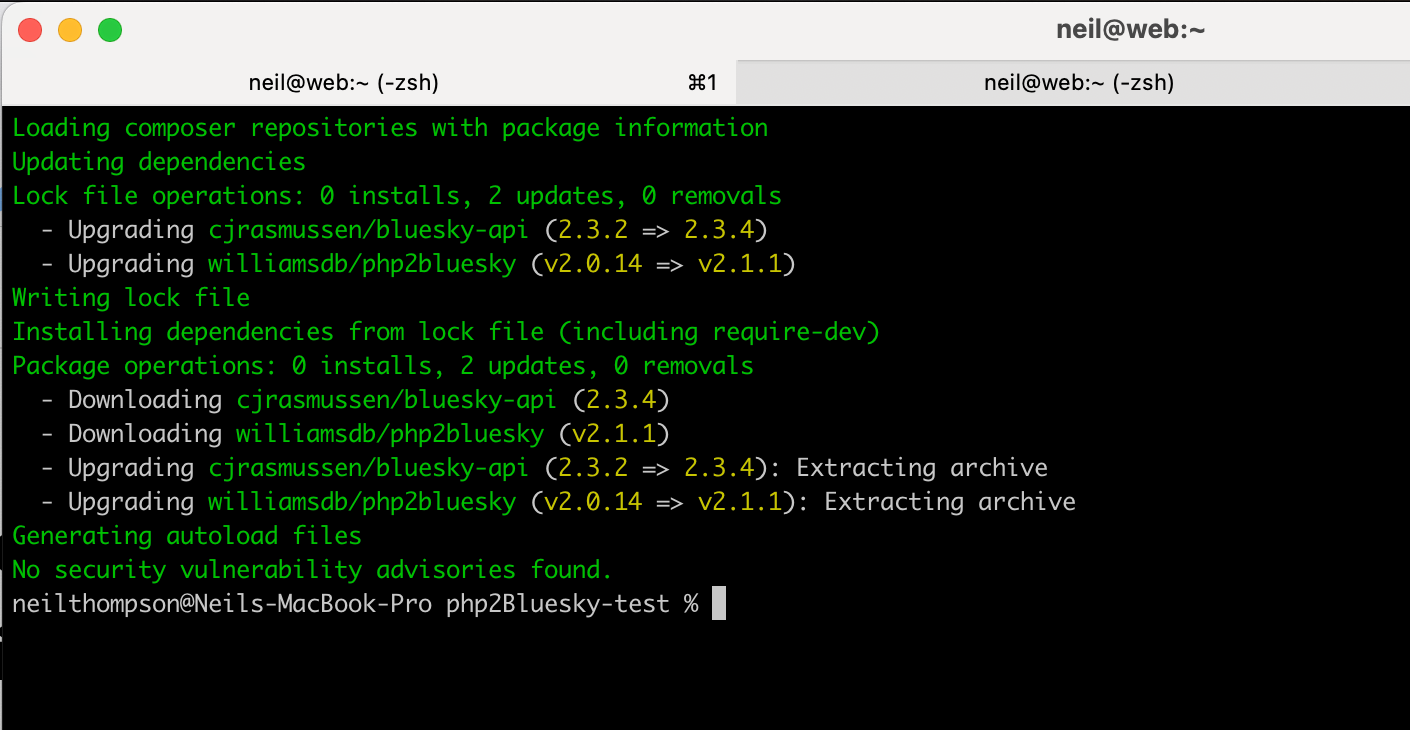
In another project where you want to use your package, you can now require it using Composer. Run:
composer require your-vendor/your-package
Composer will handle the installation and autoloading.

9. Test
Make sure to test your package thoroughly before publishing it. Also, consider adding unit tests to your package.
Following these steps should help you turn your PHP code into a Composer-compatible package.