I’m liking Bluesky, which is a little like a rough around the edges X without the toxicity found there. And here’s a neat thing you can do on Bluesky that you can’t on X. If you have your own domain you can use that as your Bluesky handle. In the rest of this article, we’re going to look at how you do that.
Why would you want to do it?
First off why would you want to do so and what are the implications of making the change? I see a number of reasons to make the change:
- it is verifiably you – only if you own the domain can you make your handle your domain.
- if you are building a brand it binds you to that brand and makes it easier for you to be found. This could be a personal or business brand
- if you want to move your Bluesky account to another server you can keep the same handle.
The only downside to this is that you lose your old Bluesky handle as the domain replaces it. This means that your old handle would be picked up by someone else. If you don’t want that to happen then you can just re-register the old handle and “park it” to prevent that happening.
Step-by-step
All of the images below are from the web version of Bluesky but it is also possible to do this from the app too.
First, select Settings where you will find a “Change handle” option. Click that.

Next, on the pop-up dialog that appears select the “I have my own domain” link at the bottom.

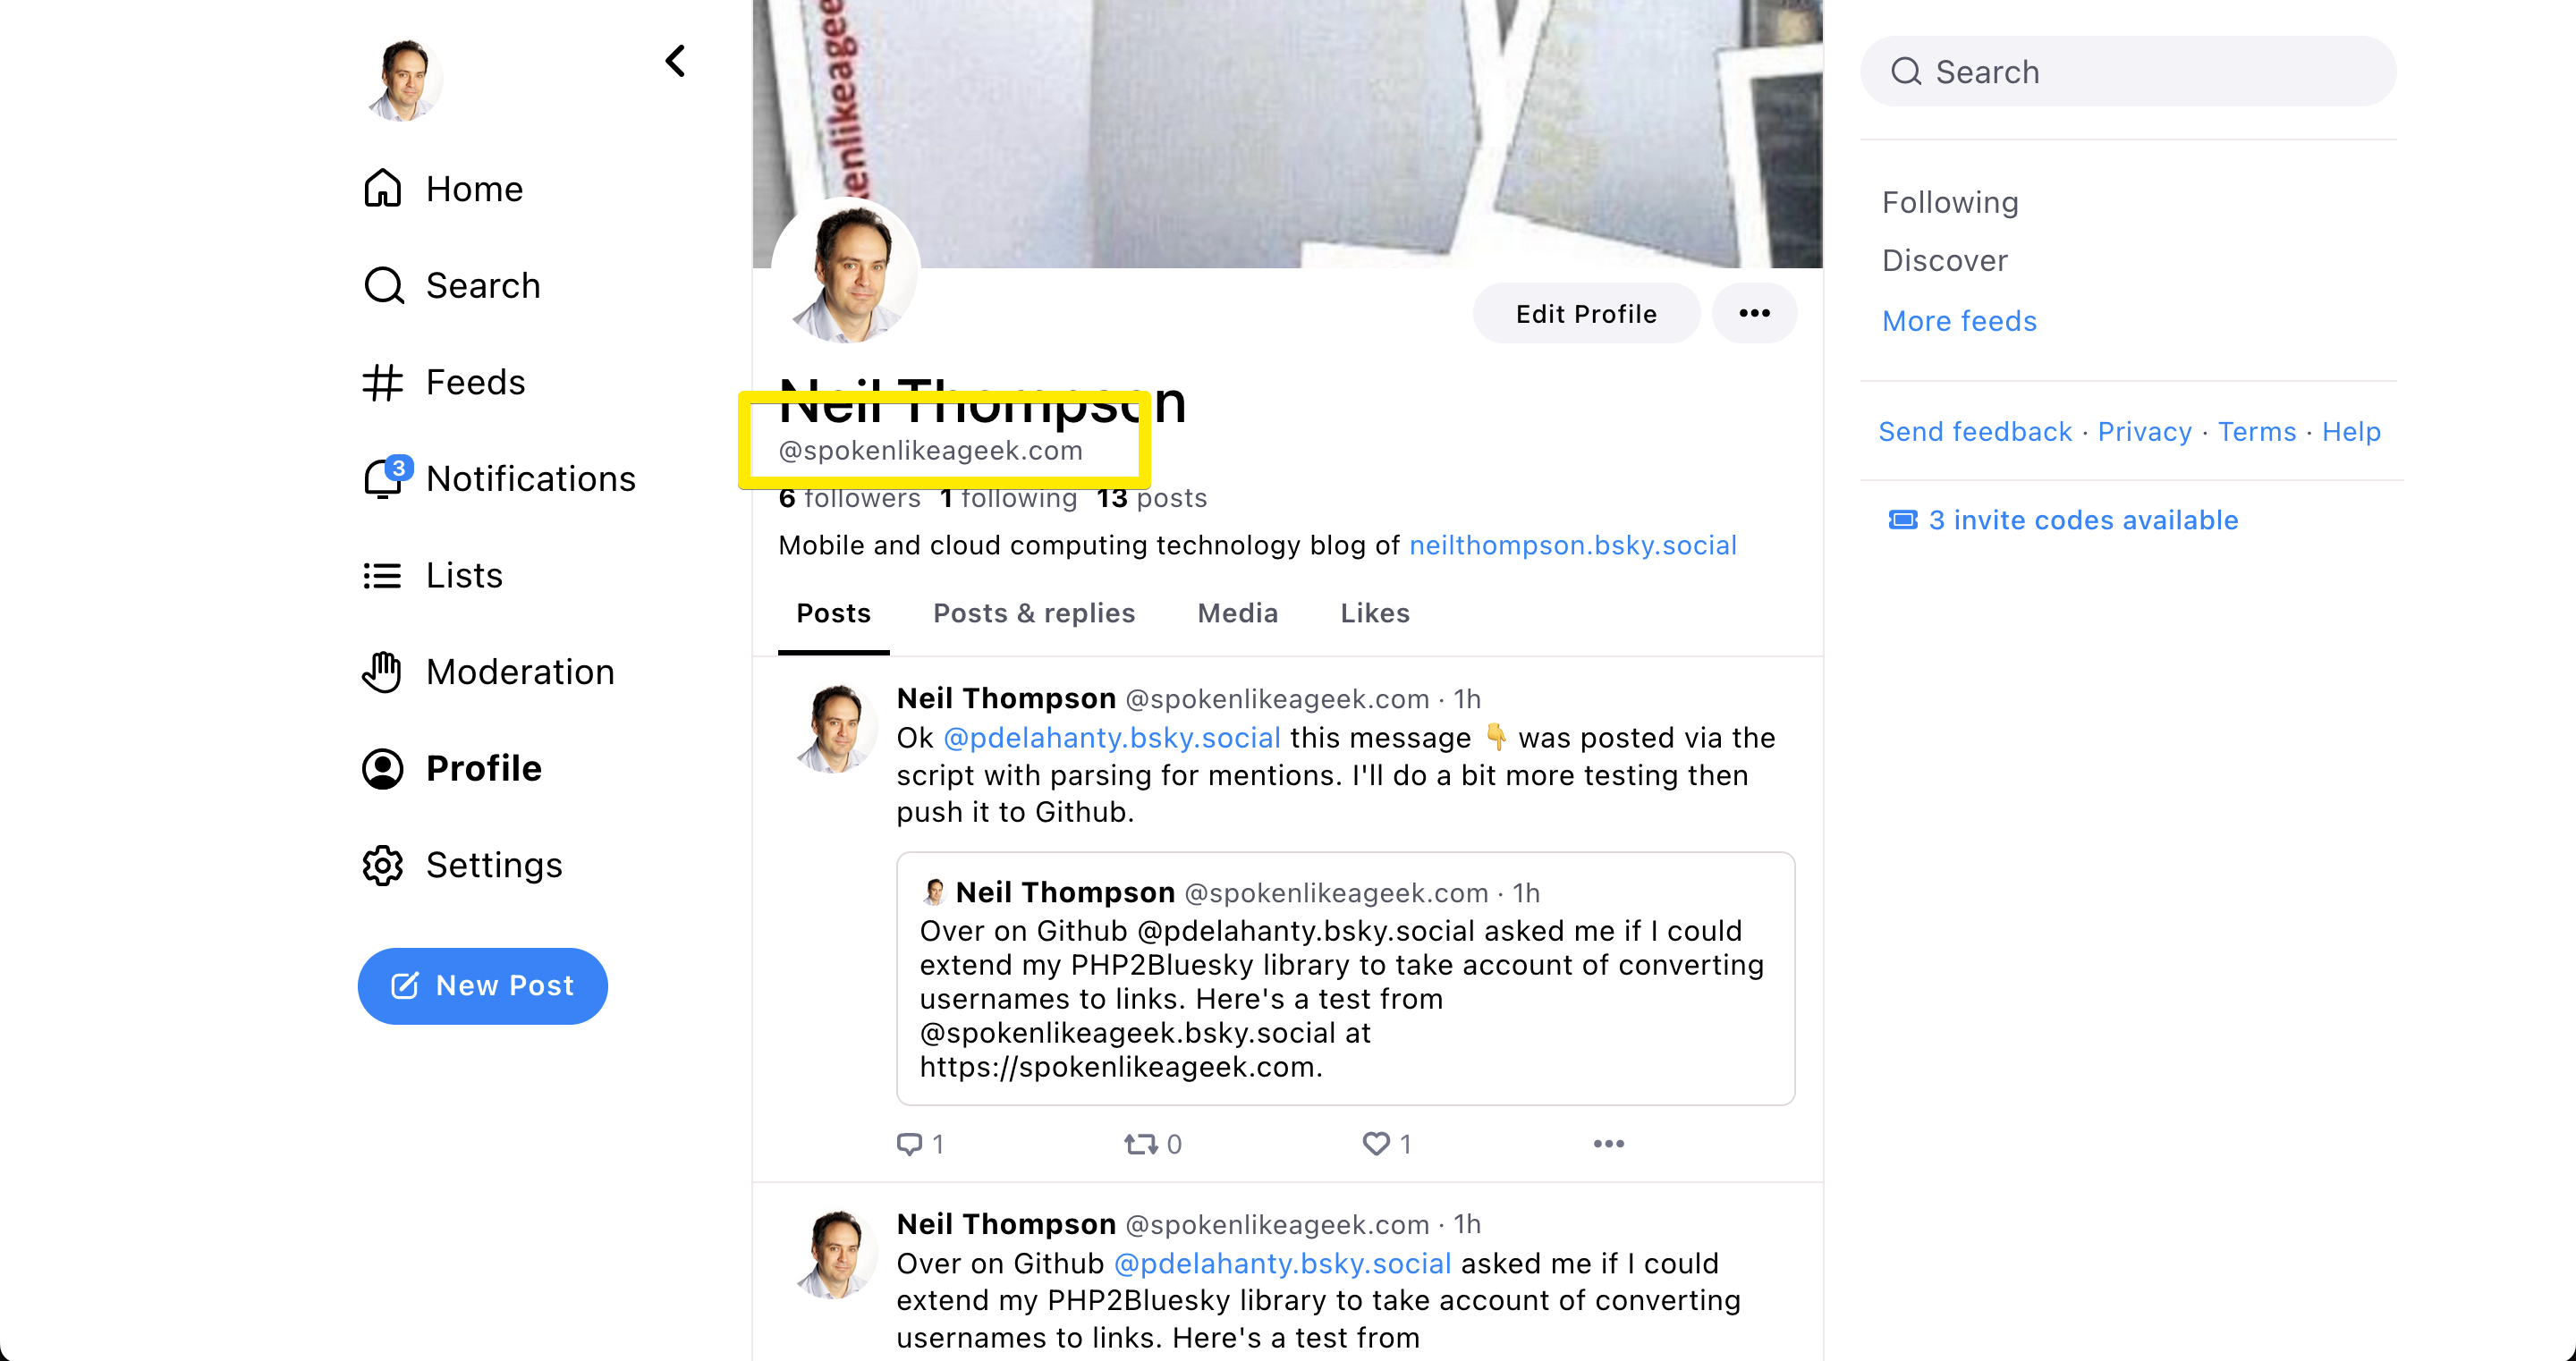
Now enter the name of the domain that you want to use as your handle. I’m using spokenlikeageek.com of course.

Update your domain
So far, so straightforward. Next, you need to head over to whoever your domain is registered with and add a TXT record with the details as shown in the Change Handle panel above.
I use Cloudflare to host my domains and this is how you enter the details there. Other hosts are similar so look for where you manage DNS records and add a TXT record there.

Validate the domain
Now switch back to Bluesky and click the blue “Verify DNS Record” button. You should see a green “Domain verified!” message but it may not happen immediately as it depends on how quickly the TXT record is available. If you get an error double check the record details with your hosts and then try again.

Finally, click the “Update to <your domain name>” button and the change will happen immediately. You can check that it has by going to your profile and seeing that the domain is listed under your name. And that’s it!
A problem for WordPress website owners, who have no way to create TXT records at their domain registrar.
There IS also a way to verify a Bluesky handle change – by simply uploading a specific text file.
However, this specific page starts with a leading (dot).
And try to do this, and the WordPress system simply removes the leading dot. So it seems impossible to create the verification page that Bluesky needs.
Any ideas of how I do this?
I assume that this is the .well-known/atproto-did file? In which case you need to create a directory which starts with a leading dot and then the atproto-did file within that. How and where within WordPress are you trying to do that? If you can let me know I will take a look and see if I can suggest a solution.