As part of The Twitter Debacletm I have spent the last few weeks trying to get my Twitter bot working again which has taken quite a bit of effort.
I thought it might be worth looking at what I did to get my bot working again once access to the API was cut in February. As there is so much in this I have broken it down into two parts:
- setting up your project and getting the keys you require to use the API
- calling the API from PHP
Getting the keys
I struggled to find which keys to use, where to get them, and how to set permissions, so I thought I would do a visual walkthrough.
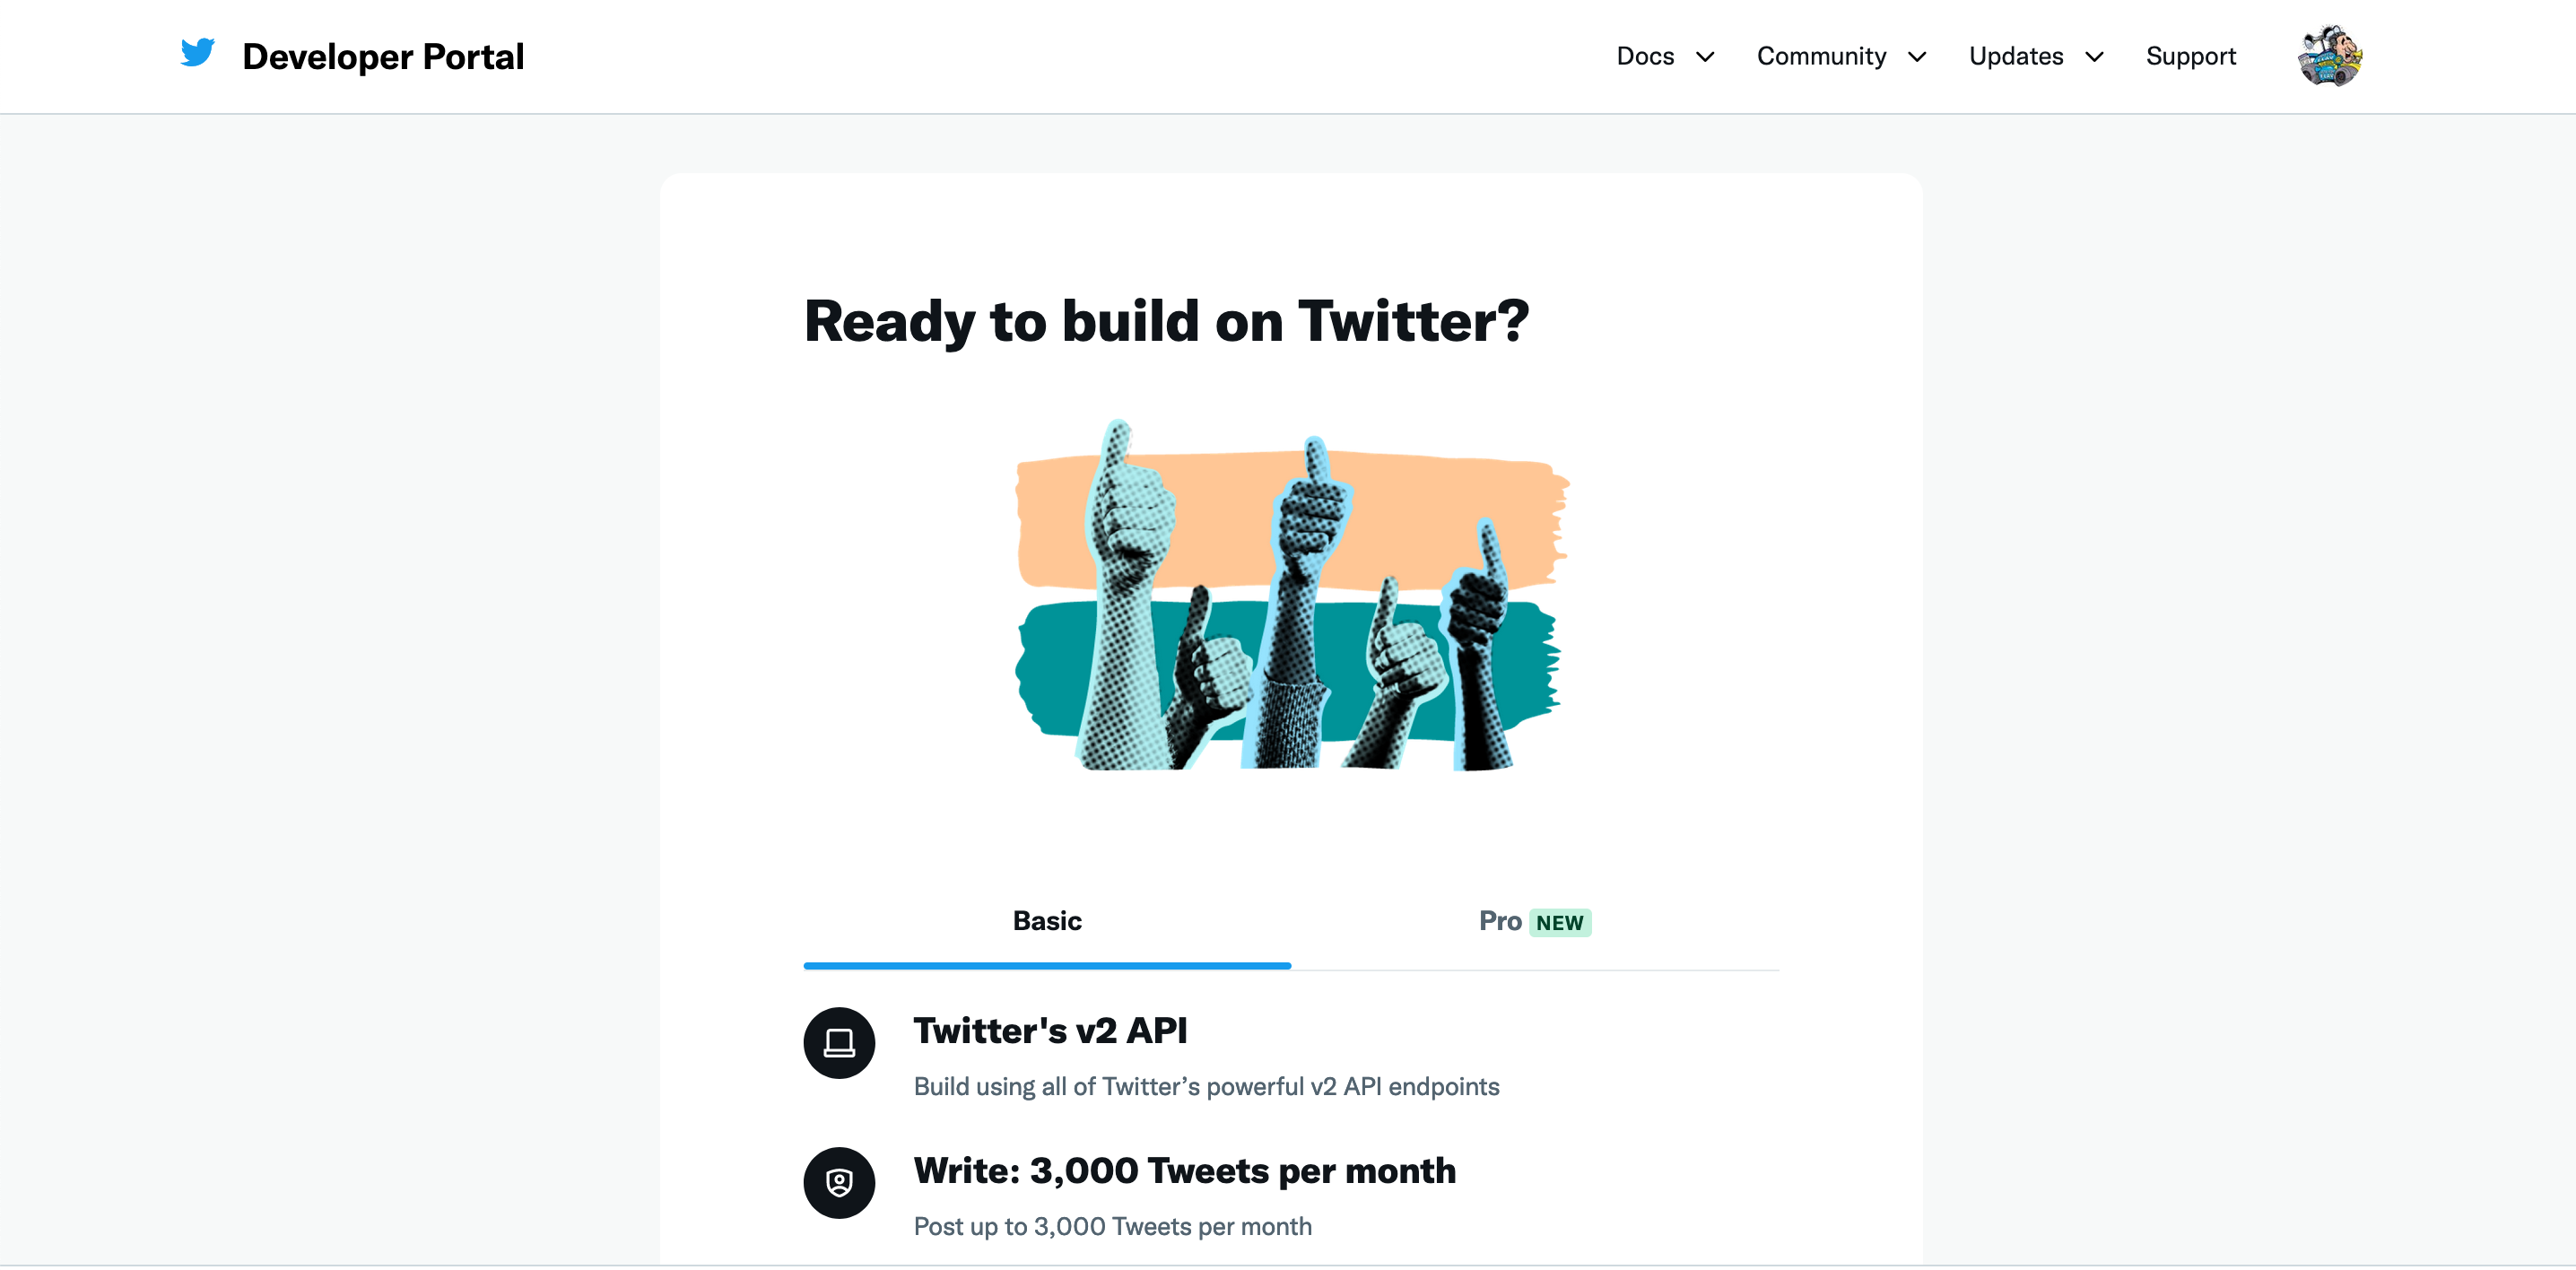
Select Access Level
The first step is to head to https://developer.twitter.com/ and click the Subscribe Now button. You will then see the following page where you must choose what level of API access you want. Scroll down this page to find the link “Sign up for Free Account” and click that.

Tell Twitter why you want access
This is the bit that I found the most difficult – like some test at school, tell me why you want access in 250 characters or more. Once you have completed that tick the boxes and click Submit.

Setup the default project
You will now be taken to your Dashboard where a default project has been created for you. By clicking the gear icon and then the edit button you can change this name to something more meaningful. I’ve not shown that here as that step is optional.

Grant Read and Write Access
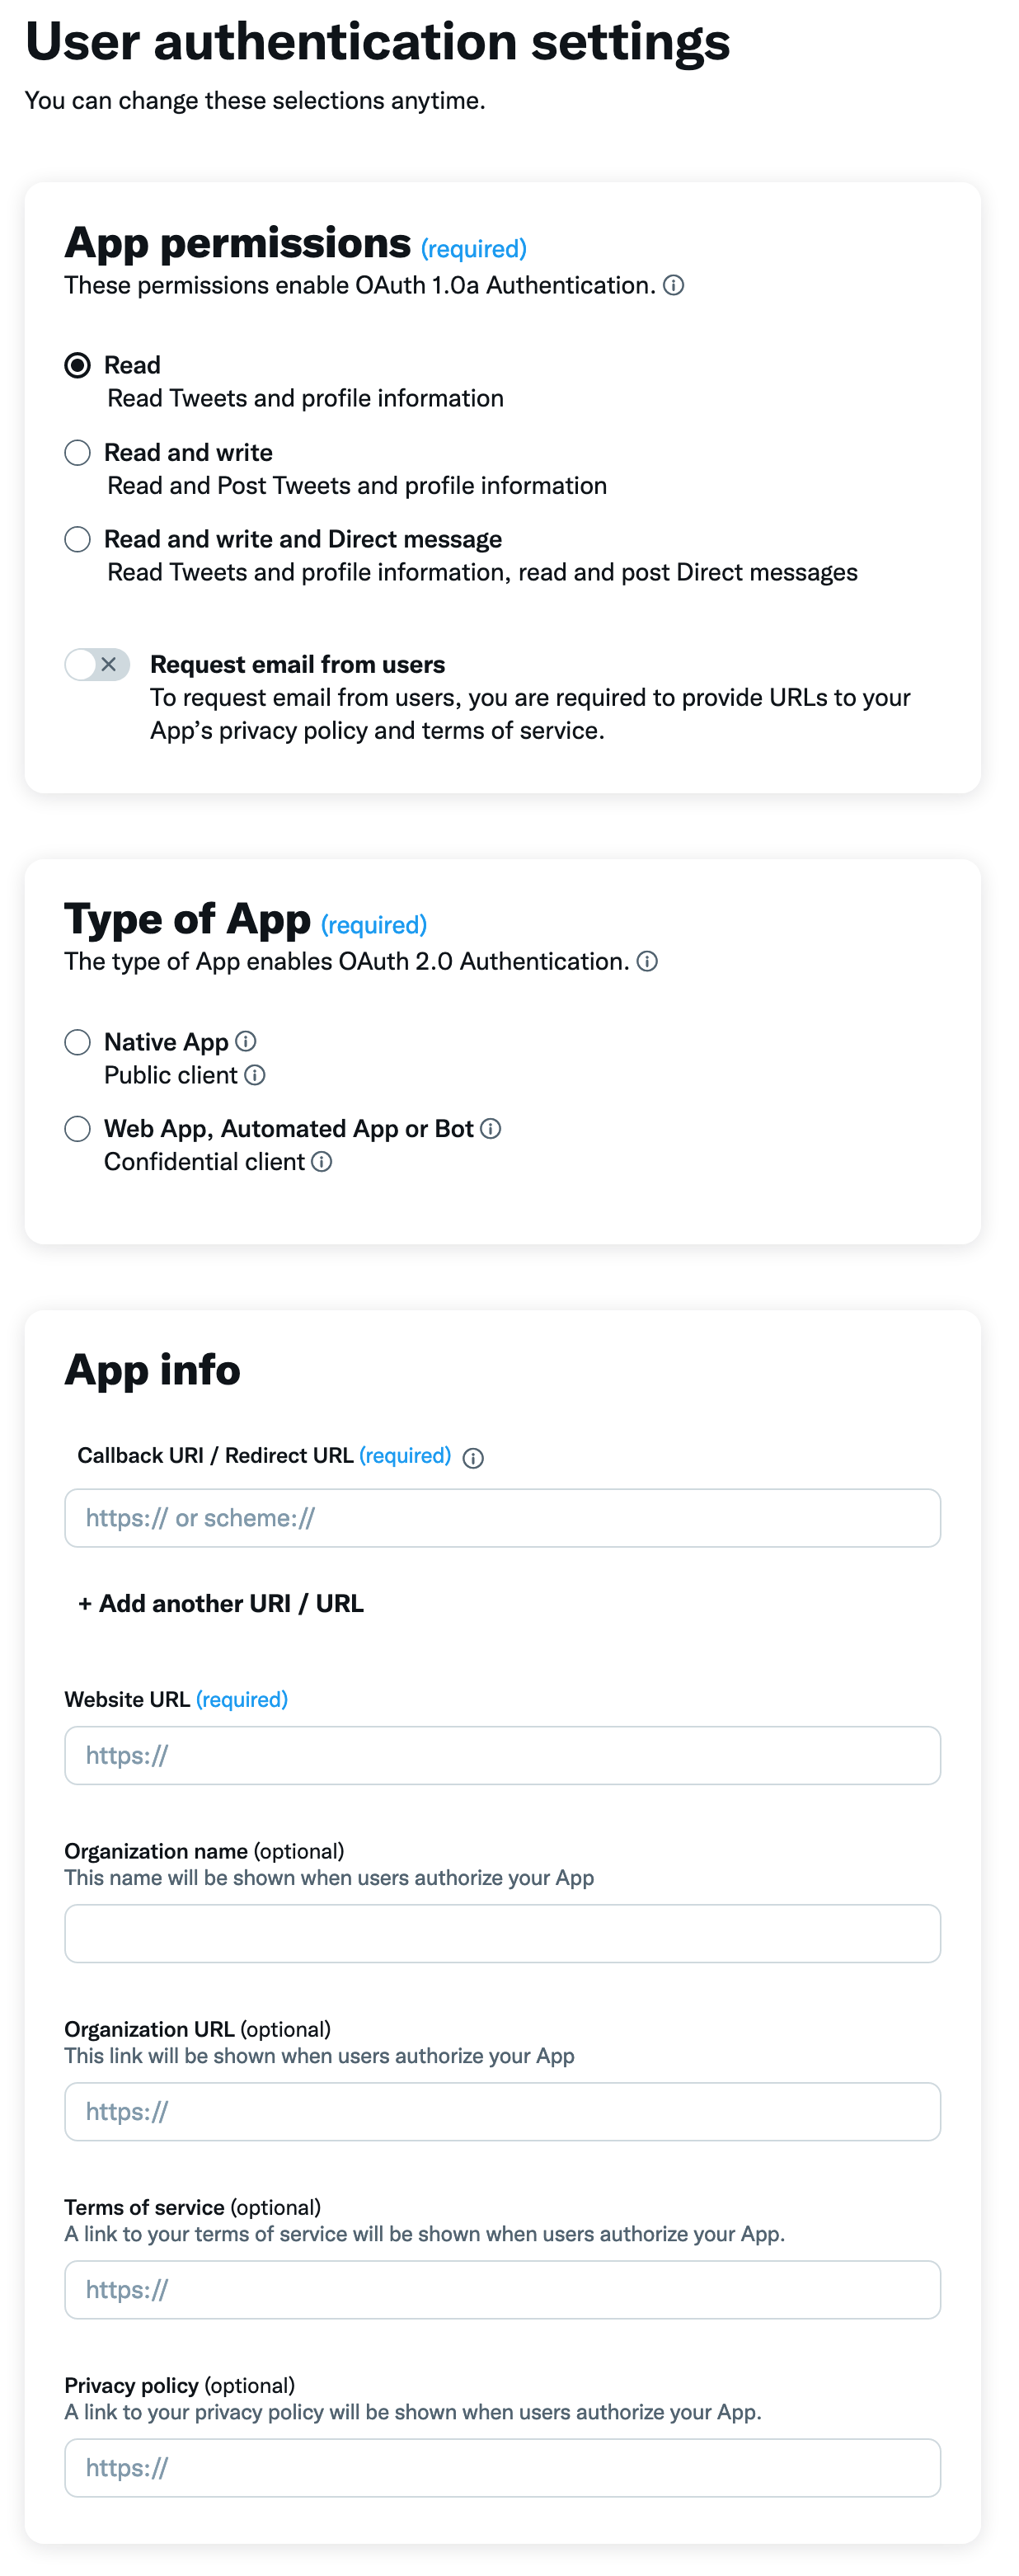
This step is crucial if you want to be able to post Tweets as well as read and took my ages to navigate. From the left-hand menu select the Products group which will open out to display three sub-items: Overview, the Project name, and then the App name (these may be the default names or something else if you have renamed them). Select the last item, the App name and you will see the following screen:

Scroll to the bottom of the page and click the Setup button in the User authentication settings block which will then display this page. What you enter here will very much depend on your app’s requirements but if you want to post Tweets you need to ensure that the second option at least is selected.
Press Save when you are ready and make sure you make a note of the keys shown.
Regenerate and save your keys
Now from the App page select the “Keys and tokens” tab at the top of the page just under the app name. This will take you to a screen like the following. Your “OAuth 2.0 Client ID and Client Secret” are those that were generated in the previous step.
Finally, regenerate both the “API Key and Secret” and “Access Token and Secret” as these are what are required by the TwitterOAuth library to write to Twitter. Keep them somewhere secure.

And you’re done
And that’s all there is to it! I hope that you found the above guide useful and come back for the second part where we’ll be using those keys to post to Twitter including media.